Pillar 1: Understanding the Basics
Chapter 1: What is a Smart Home?
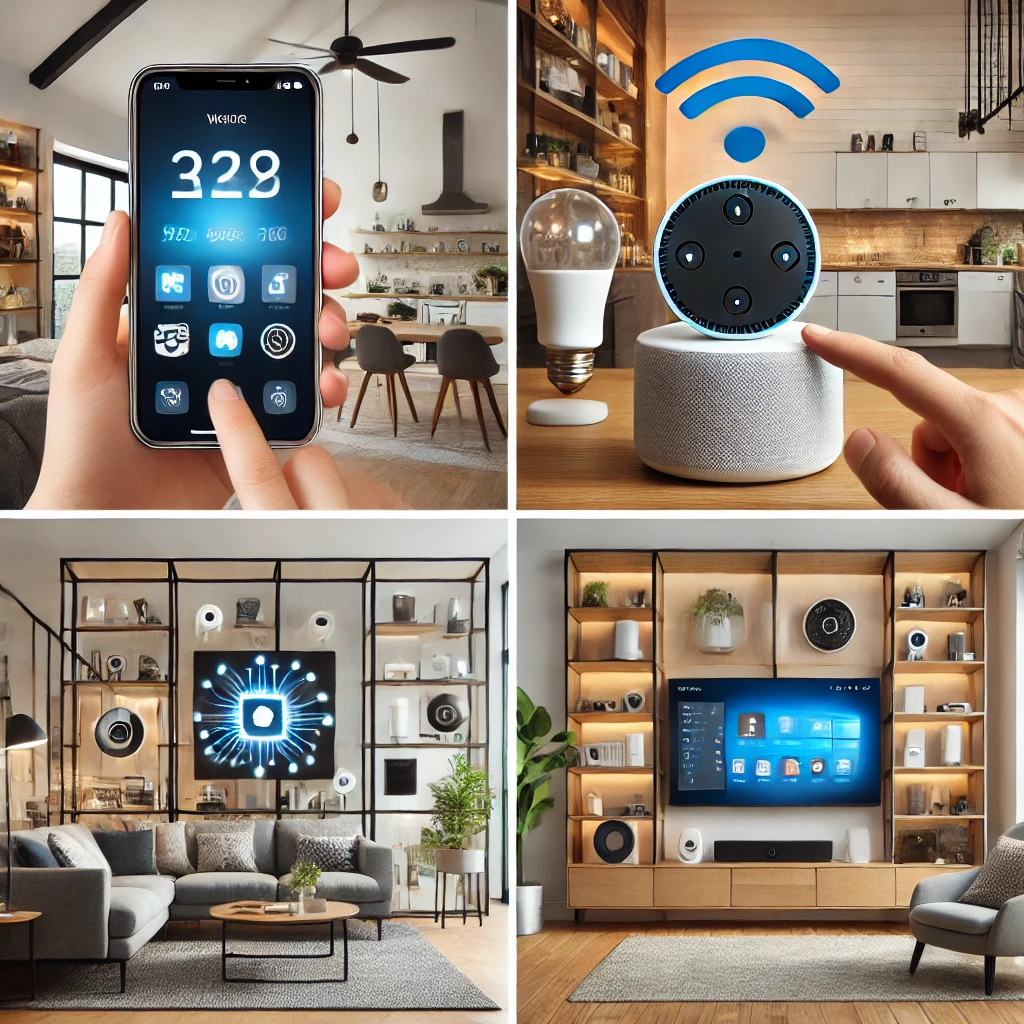
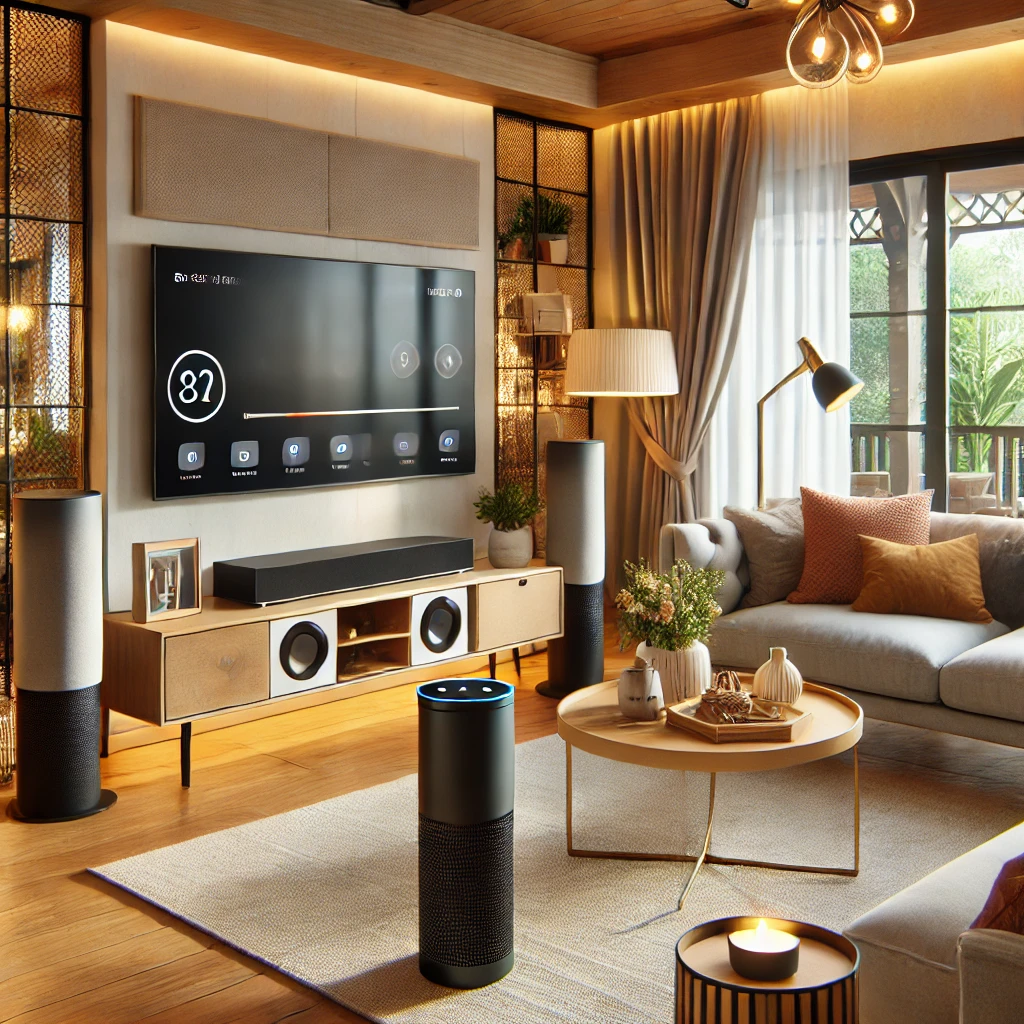
A smart home (DIY Wireless Smart Home Setup) is a residence equipped with internet-connected devices that allow homeowners to control various aspects remotely. These include lighting, security, entertainment, and even appliances.
Benefits of a Smart Home:
- Convenience – Automate daily tasks with voice commands or schedules.
- Security – Monitor your home through smart cameras and motion sensors.
- Energy Efficiency – Smart thermostats and lighting reduce energy consumption.
- Customization – Personalize settings based on your lifestyle.
Common Myths Debunked:
- “It’s too expensive.” – Smart home setups can be budget-friendly with gradual integration.
- “It’s too complicated.” – Many systems offer plug-and-play functionality for easy installation.
- “Smart homes are insecure.” – With strong passwords and proper setup, smart homes are very secure.
Chapter 2: Wireless Smart Home vs. Wired
| Feature | Wireless Smart Home | Wired Smart Home |
|---|---|---|
| Installation | Easy, no drilling needed | Complex, requires wiring |
| Cost | Affordable and scalable | Expensive upfront |
| Reliability | Dependent on Wi-Fi | More stable |
| Flexibility | Can be relocated | Fixed setup |
Pros of Wireless Smart Homes:
✅ Easy to install and expand ✅ Cost-effective ✅ Works with voice assistants
Cons of Wireless Smart Homes:
❌ Requires a strong Wi-Fi connection ❌ Potential latency issues
Chapter 3: Essential Components of a Wireless Smart Home
Smart Hubs:
- Amazon Echo (Best for Alexa users)
- Google Nest Hub (Best for Google Assistant integration)
- Samsung SmartThings (Best for multi-brand compatibility)
Smart Devices:
- Lighting: Smart bulbs, dimmers (e.g., Philips Hue, LIFX)
- Security: Smart locks, cameras (e.g., Ring, Arlo, August)
- Thermostats: Smart energy-saving thermostats (e.g., Nest, Ecobee)
- Entertainment: Smart TVs, speakers (e.g., Sonos, Roku, Chromecast)
- Appliances: Smart plugs, smart kitchen devices
- Wi-Fi Network: Ensure strong, stable Wi-Fi with a mesh system (e.g., Eero, Google Nest Wi-Fi)
Pillar 2: Planning Your DIY Smart Home Project (Essential Components of a DIY Wireless Smart Home)
Chapter 4: Defining Your Needs and Goals
Ask yourself:
✅ Do I want security, convenience, or energy savings?
✅ What budget am I comfortable with?
✅ Do I prefer voice control or app control?
Example Setups:
- Security-focused: Smart cameras, locks, motion sensors
- Energy-saving: Smart thermostats, automated blinds
- Entertainment-centric: Smart speakers, streaming devices
Chapter 5: Compatibility and Ecosystems
Popular Smart Home Ecosystems:
| Ecosystem | Key Features |
| Amazon Alexa | Wide device support, voice automation |
| Google Assistant | Seamless Google integration, AI-driven |
| Apple HomeKit | Best for Apple users, high security |
🔹 Matter Standard: Ensures cross-compatibility among different brands.
Chapter 6: Budgeting for Your Smart Home
| Category | Estimated Cost |
| Smart Hub | $50 – $150 |
| Smart Lighting | $20 – $100 per bulb |
| Smart Security | $100 – $500 |
| Smart Thermostat | $100 – $250 |
💡 Tips:
- Buy in bundles to save money.
- Look for discounts on Amazon Prime Day, Black Friday.
Chapter 7: Security and Privacy Considerations
✅ Use strong passwords and two-factor authentication. ✅ Regularly update firmware on all devices. ✅ Review data privacy policies before purchasing.

Pillar 3: Step-by-Step DIY Setup Guide (Step-by-Step DIY Wireless Smart Home Setup)
Chapter 8: Setting Up Your Smart Hub
- Plug in and power the smart hub.
- Download the respective app (Alexa, Google Home, SmartThings).
- Follow on-screen instructions to connect to Wi-Fi.
- Add smart devices to the hub.
Chapter 9: Connecting Smart Devices
- Lighting: Add smart bulbs in the app.
- Security: Set up motion sensors and smart locks.
- Thermostats: Adjust temperature settings via the app.
Chapter 10: Creating Routines and Automations
- “Good Morning” Routine: Lights turn on, thermostat adjusts.
- “Away Mode”: Security system activates, lights turn off.
- Use IFTTT for advanced automation.
Chapter 11: Voice Control Integration
- Amazon Alexa: “Alexa, turn off the lights.”
- Google Assistant: “Hey Google, set the thermostat to 72°F.”
- Apple Siri: “Hey Siri, play my favorite playlist.”
Pillar 4: Troubleshooting and Maintenance (Troubleshooting Your DIY Wireless Smart Home)
Chapter 12: Common Smart Home Problems and Solutions
| Problem | Solution |
| Device not connecting | Restart Wi-Fi router, re-add the device |
| Slow response | Check for interference, update firmware |
| Security concerns | Change passwords regularly |
Chapter 13: Maintaining Your Smart Home
✅ Keep firmware up to date. ✅ Replace batteries in smart locks, sensors. ✅ Clean cameras and speakers for optimal performance.
Chapter 14: Expanding Your Smart Home
- Add smart doorbells, robotic vacuums, or smart blinds.
- Stay updated with Matter-compatible devices for easier integration.
Conclusion
Setting up a DIY wireless smart home is easier than ever. Whether you focus on security, convenience, or energy efficiency, a step-by-step approach ensures a smooth setup. With the right smart hub, compatible devices, and proper security measures, you’ll enjoy the benefits of a seamless smart home experience.